I hope all of you had a happy holidays(:
With a giftcard I recieved from my relatives, I purchased a bunch of phone cases off of amazon - but there was one case I didn't order that I later regretted not getting.
This is the case:

It's super super cute, and since I didn't order it, I decided to make it!
What you will need:
1 clear phone case (I already had one of these)
Tape
Scissors
5 colors of nail polish + Clear Polish
Nail Polish remover
Q-Tips
Toothpicks
Step 1:
Wash down your phone case with nail polish remover to remove dirt and grease
Step 2: Tape your phone case in a chevron pattern (I had to cut the tape strips so they would fit)

Step 3: Arrange your nail polishes in light to dark order. I decided to use the turquoise theme, however you could choose a pink theme or rainbow theme or whatever combonation of colors you want!

Essie Mint Candy Apple, Butter London Poole, Ulta Nail Polish Mint Condition, NYC 360 Cool Breeze, and Pixi 046 Evening Emerald
Step 4: Count out the number of stripes on your case and divide that by the number of nail polishes you have. I had 10 stripes and 5 colors of nail polish, so I did 2 strips per color.
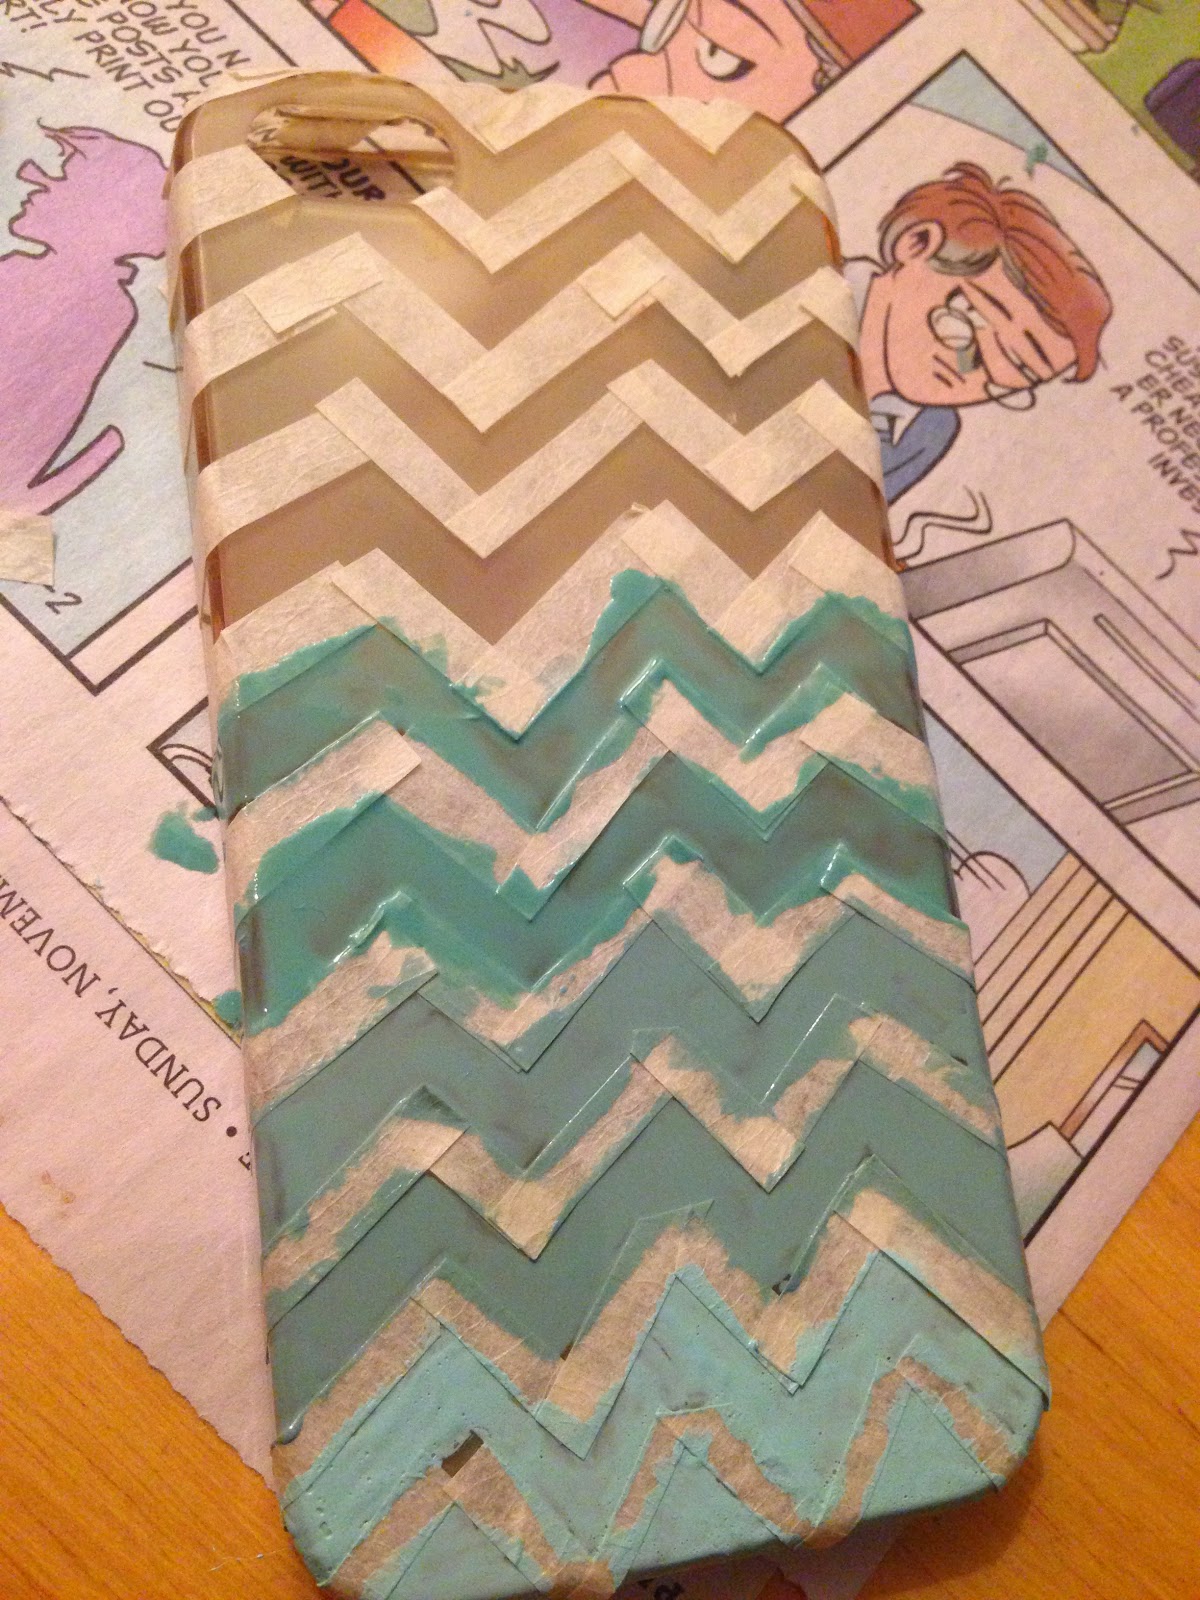

Step 5: After all of your colors are applied, let your case dry for at least 30 minutes. And keep the tape on so nothing get messed up! You could use a hair dryer to speed up the drying process if you are in a hurry.
Step 6: Peel the tape off. Since the paint will only by about 75% dry, but dry to the touch, now you can use your nail polish remover along with the q-tips and tooth picks to touch up the lines to make them sharper.
Step 7: Apply the top coat and let it dry for another 30 minutes. I am using the top coat from Essie.

NYC Matte Coat, Essie No Chips Ahead Top Coat
**I also took out my NYC Matte Coat to put on, but decided not to use it. However, if you like the matte look, go ahead!
Step 8: Enjoy the finished product! I hope you guys love your DIY phone case! Let me know in the comments what you think or if you have any questions!

Enjoy the rest of break!
xo
No comments:
Post a Comment